Managing the details of your child check-in visitors
In this article
Managing visitors
Managing the visitor data retention
Importing child visitor information
Managing visitors
With the ChurchSuite Child Check-In system, it's never been easier to securely gather basic contact details and record attendance of visiting children coming to your various groups and activities.

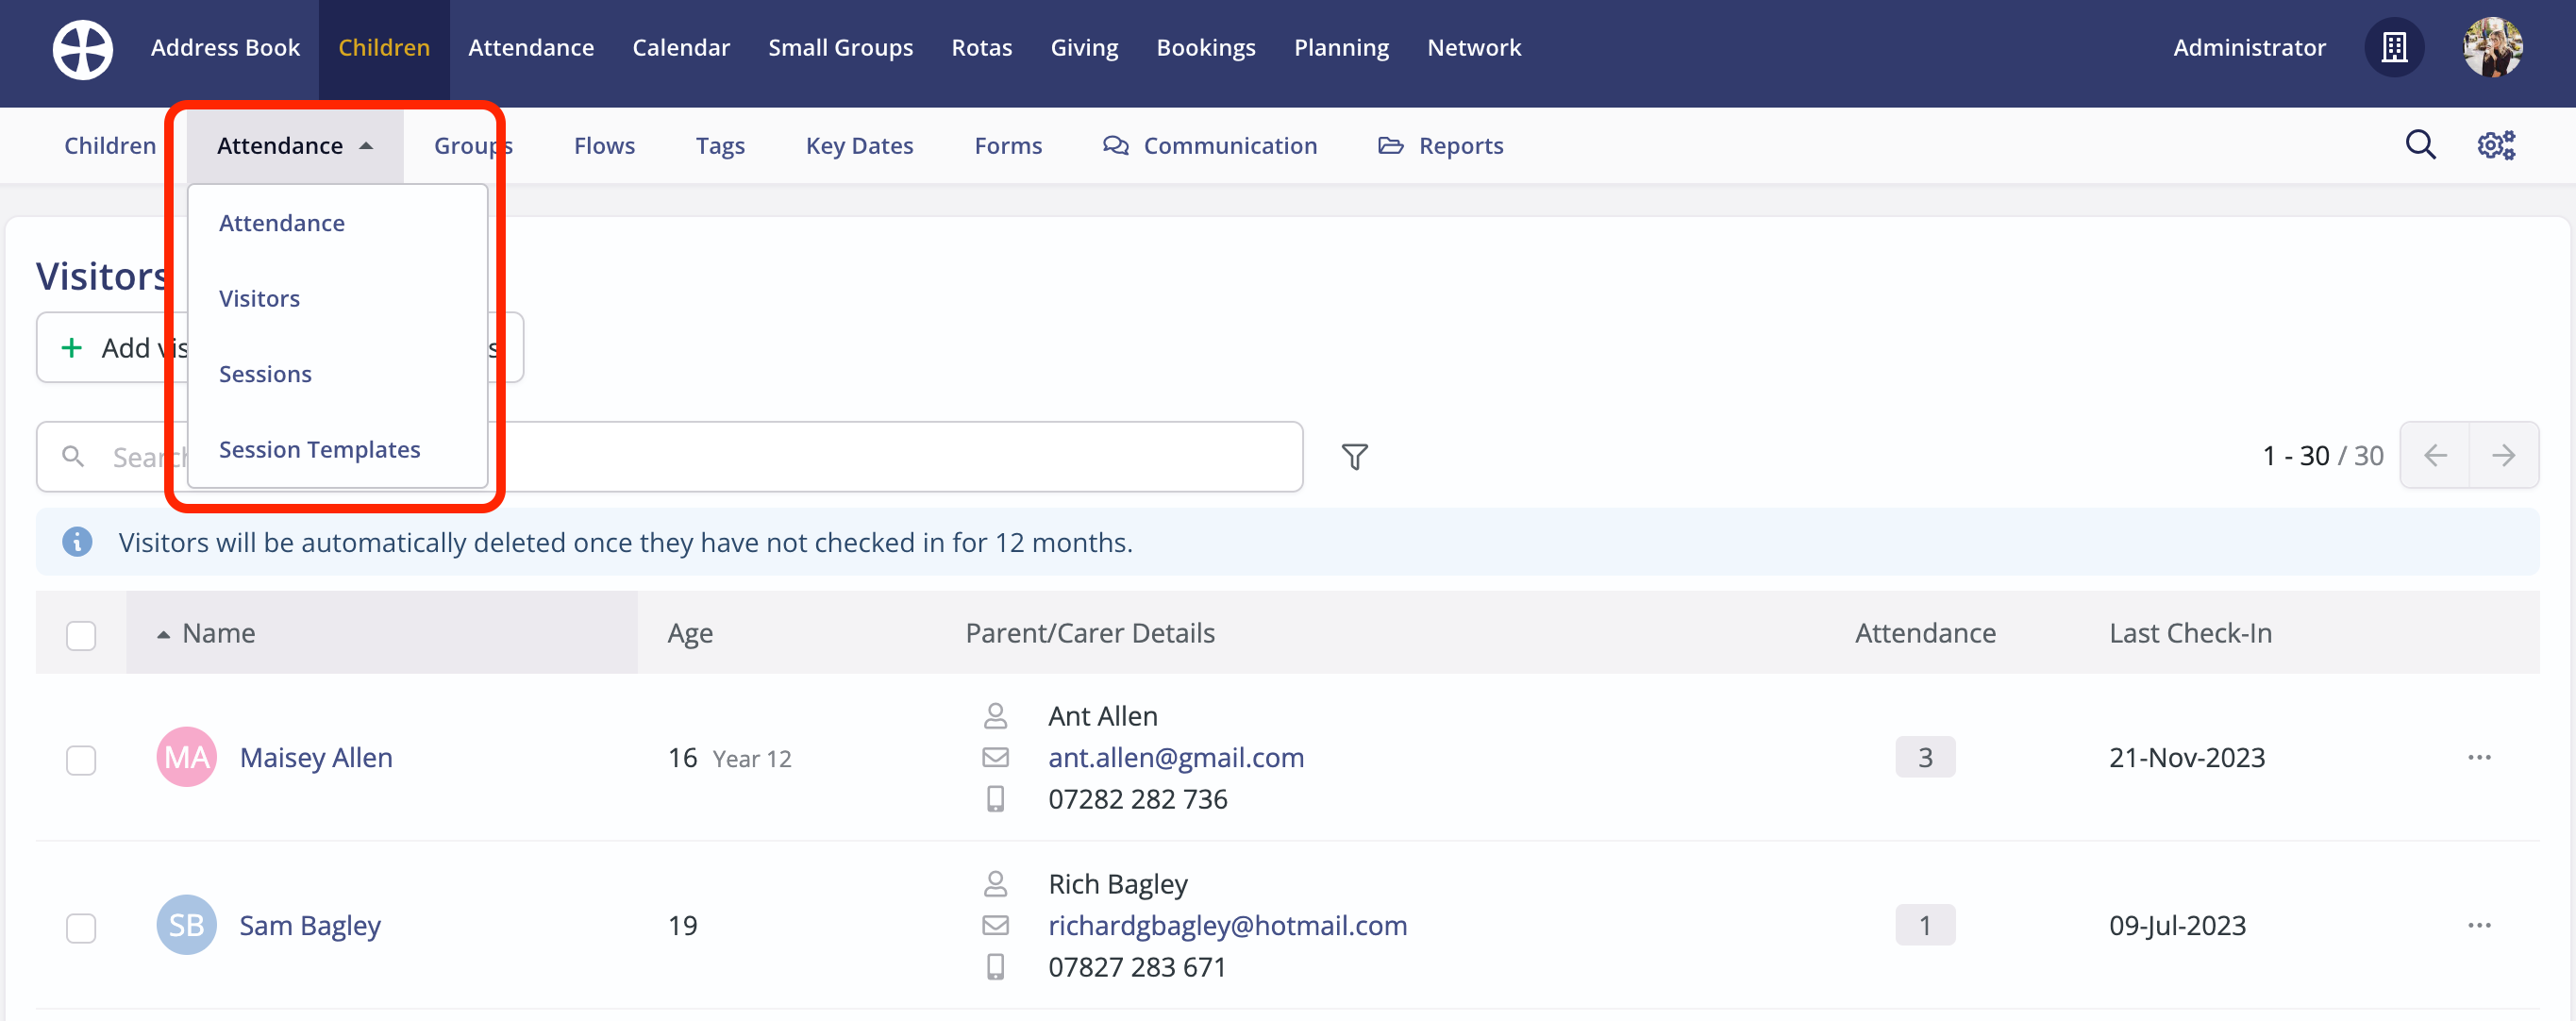
It's important to know that visiting children are not immediately added to the Children module. Instead, when visiting children are checked in, their details are added to a separate Visitors area in the module, located within the Attendance section. Visitor data is retained based on the data retention period specified in your module's settings (see later) - a daily 'system' task will purge data for visitors who have not checked in for the retention period. While visitor contact details are purged, the visiting child's name is still retained against the historic attendance sessions they attended.
Multi-site customers
Visitor children are assigned to the same Site as the underlying Gathering into which they first checked in. If that child visitor attends a gathering at a different site in the future, they will be checked in as a new visitor to that site's Gathering, meaning that when viewing your Visitors list as "All Sites" you'll see them listed once for each site they registered/attended.
Top Tip!
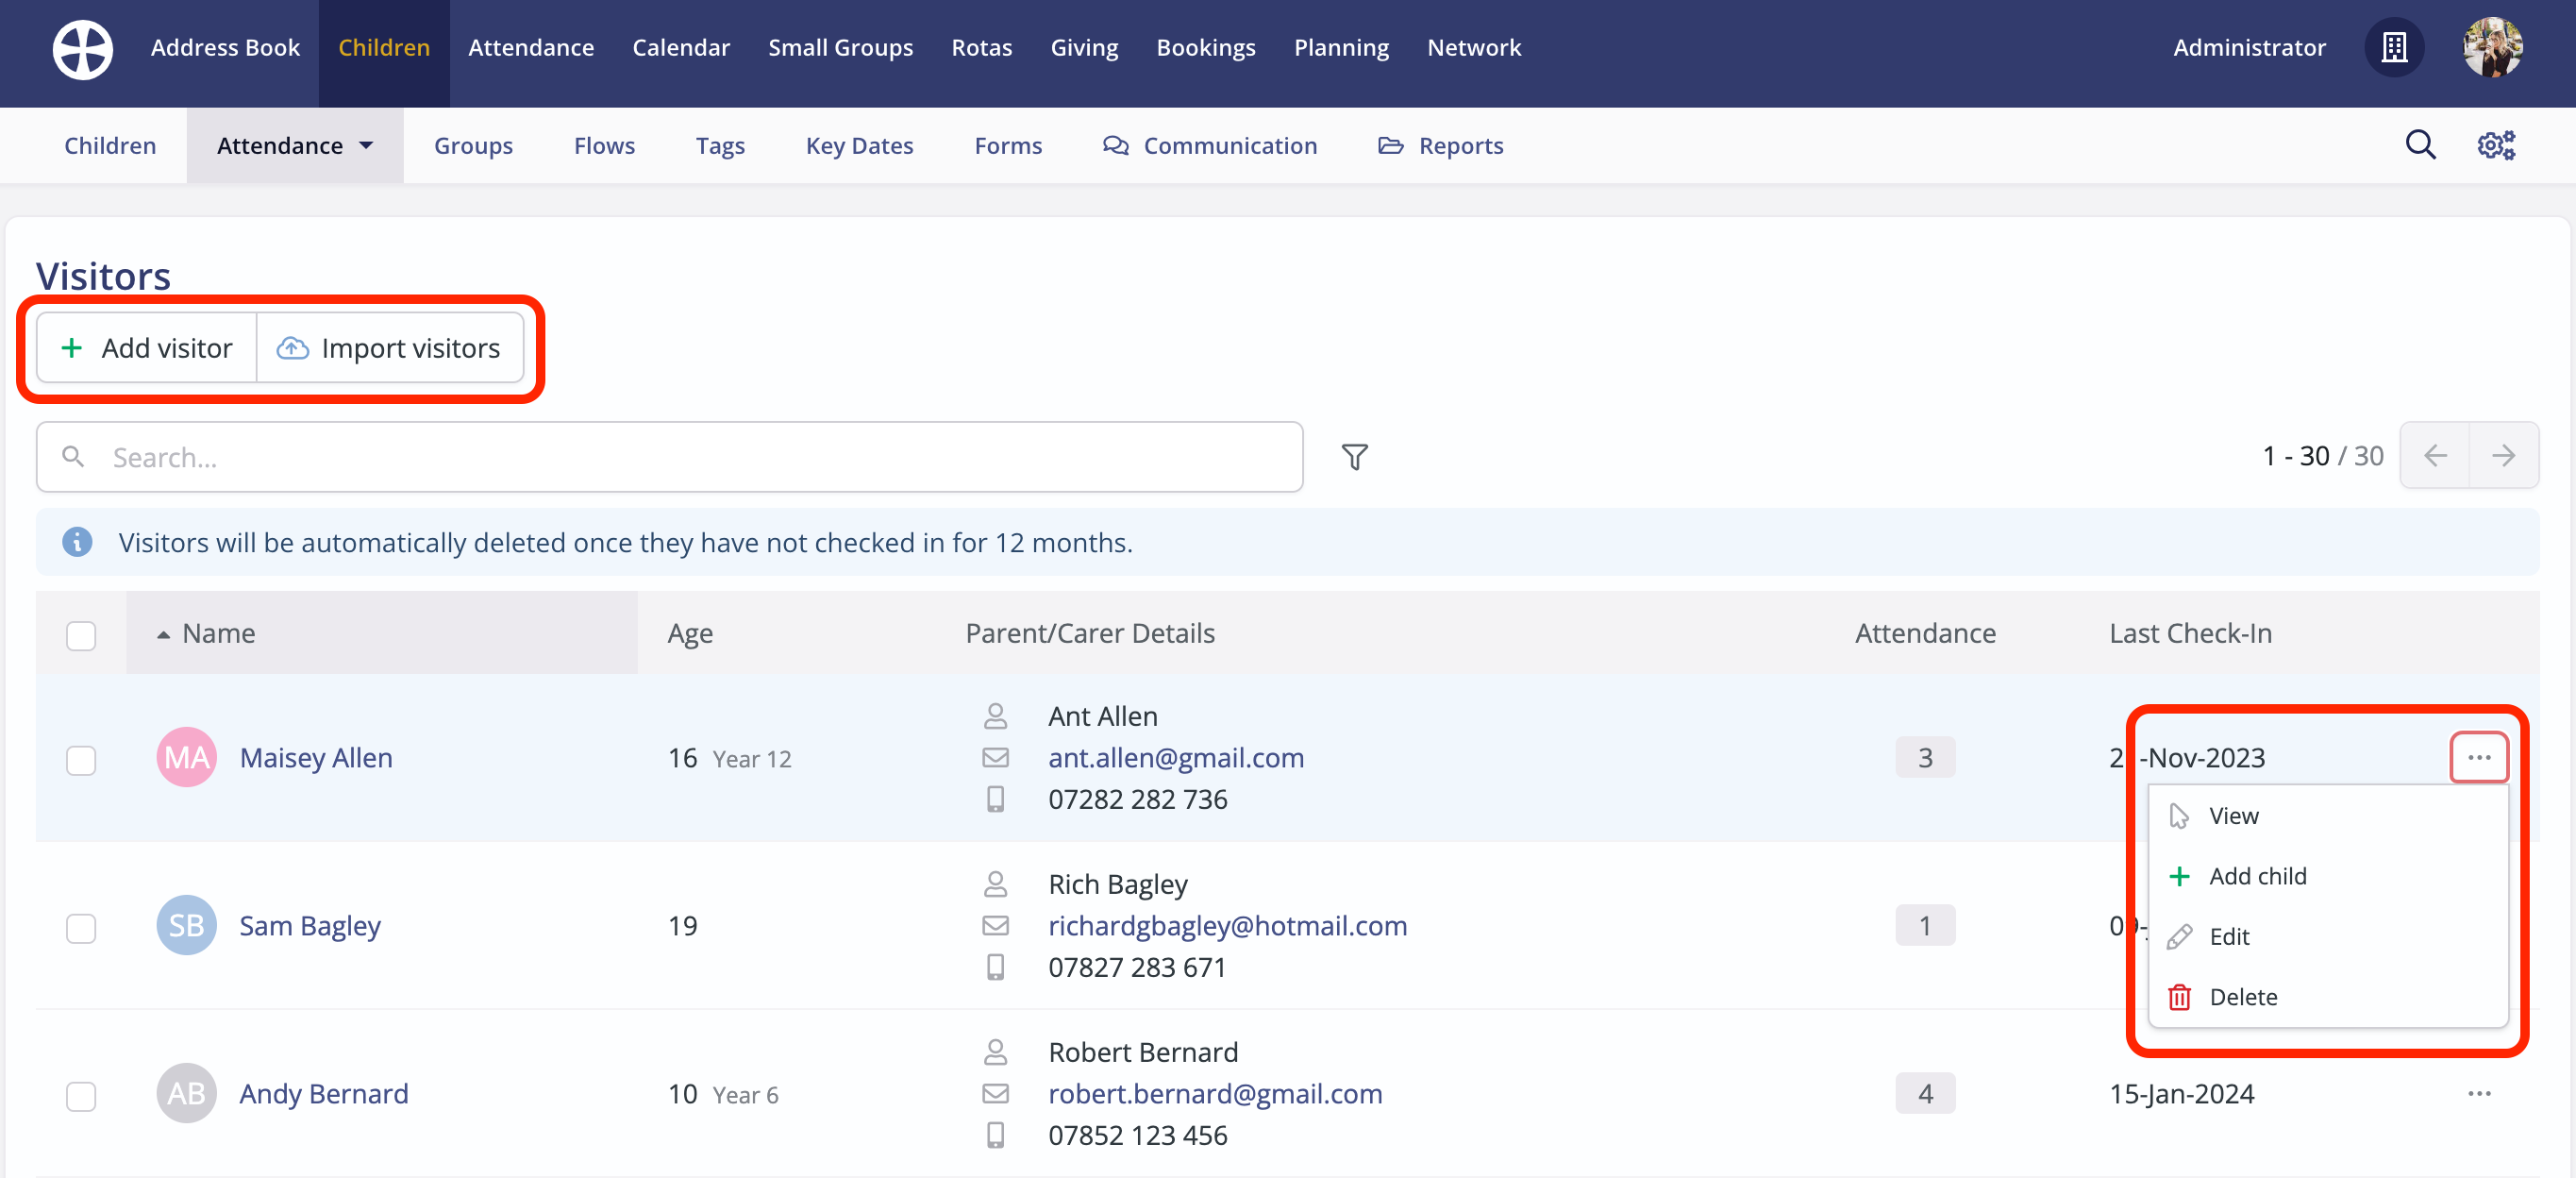
From the Visitors section, you can easily manually Add or Import visitors - see later in this article for further information on importing visitors. This may be helpful where you are expecting known visitors - perhaps from a Calendar module event they've signed up for, e.g. a Holiday Club. In this way, you can pre-prepare your Child Check-In system so that delegates can check in as visitors quickly and easily, without needing to re-enter all their details again.
From the Visitors section, you can Edit or Delete a visitor, or Add child to add them directly into your Children module contacts (which will remove them from the Visitors list while retaining all their details and historic group attendance).
Like children, visitors have a profile page to view - click on a child's Name in the list above to view the child's full profile. From here you can Edit, perhaps to add further information, and you can Add child to the Children module contact - subject to your data protection policy and privacy policy permissions - which will remove them from the Visitors list while retaining all their details and historical group attendance against their newly-created child profile. Recent attendance for each visitor is also listed on their profile page.

From the Visitors section, you can easily communicate with the parents/carers of visitors via the batch Actions menu on the visitor index list - tick one or more visitor names and then select Send email or Send SMS from the Actions menu.

You can further filter the Visitors list using the Search and Advanced Search. Click Advanced to surface a wide variety of additional filters - ideal for identifying new/recent visitors or those who have checked in multiple times, for example.

Top Tip! Welcoming visitors more effectively...
Whenever a visiting parent/carer completes the Visitor check-in process and submits personal data about their visitor child, a confirmation email is always sent to the parent's/carer's email address (if an email is supplied on the Visitor form). That confirmation email contains full details of the personal data that was submitted.
However, you might prefer to send a more welcoming message to your visitors. This can easily be done by creating a Preset 'visitor welcome' email (In Administrator > Presets) and then setting that preset as the "Success" Confirmation Email that is sent. ChurchSuite will automatically append the data submission confirmation to the end of your Preset email before sending.
Having created your visitor Preset email, head into the Children module's settings and navigate to the Visitors section on the Check-In Options tab...

to select your Preset Confirmation Email - click Edit to make changes.

Managing visitor data retention
Data Protection legislation provides that organisations should not retain data any longer than needed. This extends also to data that is not being maintained, kept up to date or no longer serves a useful purpose.
ChurchSuite automatically removes visitors after a pre-defined period. For safeguarding record purposes, when any visitor is deleted, the visitor child's name is still maintained against their historic group attendance - essentially a text record of the visitor's name is retained forever (as long as the group itself is retained) - however, the visitor's "profile" and personal data is removed.
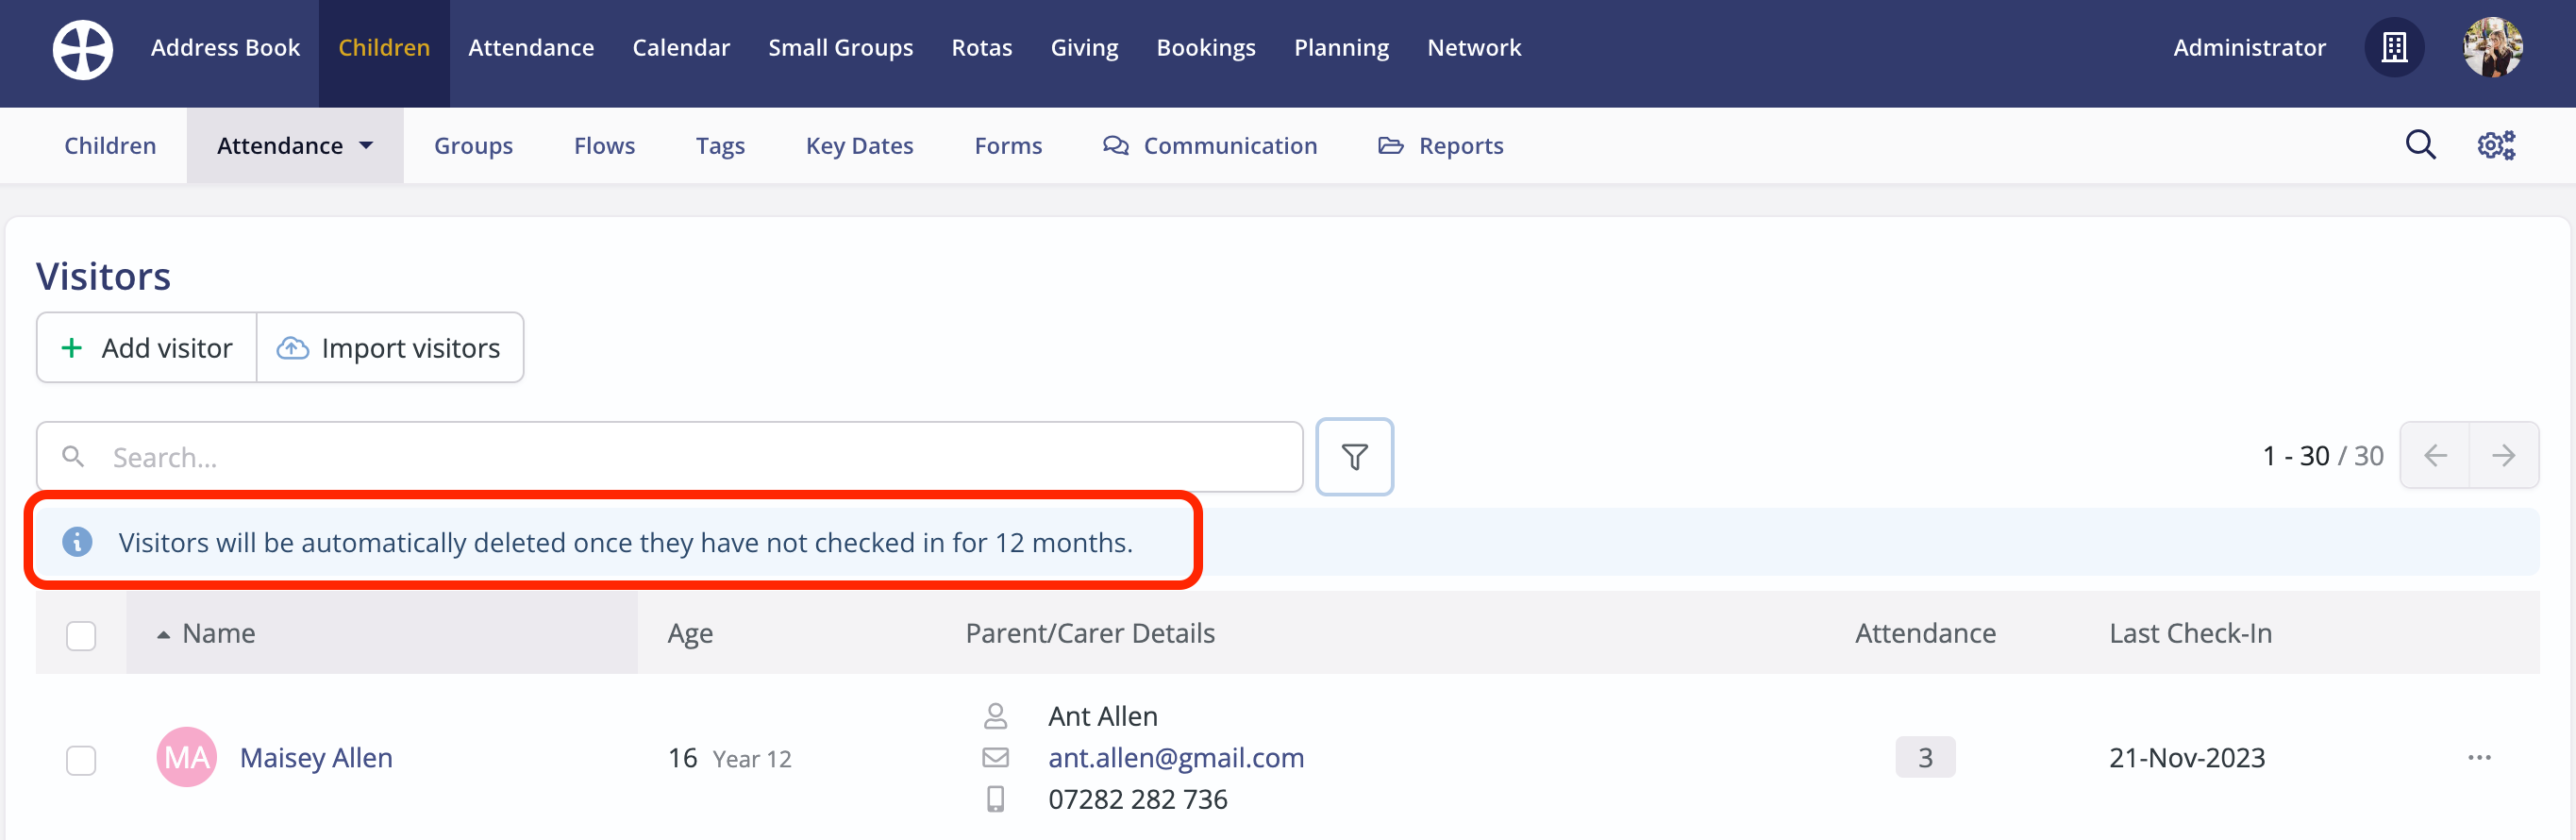
The retention period is stated at the top of the Visitors section - 12 months in this example.
You can change the visitor retention period in the Children module's settings. Navigate to the module's settings and click on the Check-In Options tab.

Scroll down the Connect Options to the Visitor Settings. Set the Delete visitors after setting as appropriate - click Edit to make changes. Note that the date of deletion is related to the date they last checked in, not the date they were first added as a visitor. In this way, visitors who return periodically are not unhelpfully removed from the system; making it easier for visiting parents/carers to check their children in when they re-visit, without having to re-enter all their details again.

Importing child visitor information
You may find it useful to be able to import your visitor data held in other systems or from past events or groups you've run. This will be useful if you're planning to use Child Check-in and you want those previous visitors to be able to check in easily without having to re-enter all their details again. Here's how to import child visitor information.
You can import visitors in CSV file format. The child's first name, last name and date of birth are required fields. The date of birth is required so that the system can determine which groups they should be assigned to when they are checked in. Make sure that the first row in your CSV file is the header row that contains the field names of each column in your data - this is what ChurchSuite will use to map the data in your file to the fields in ChurchSuite.
Working within the Attendance > Visitors section of the Children module click Import visitors.
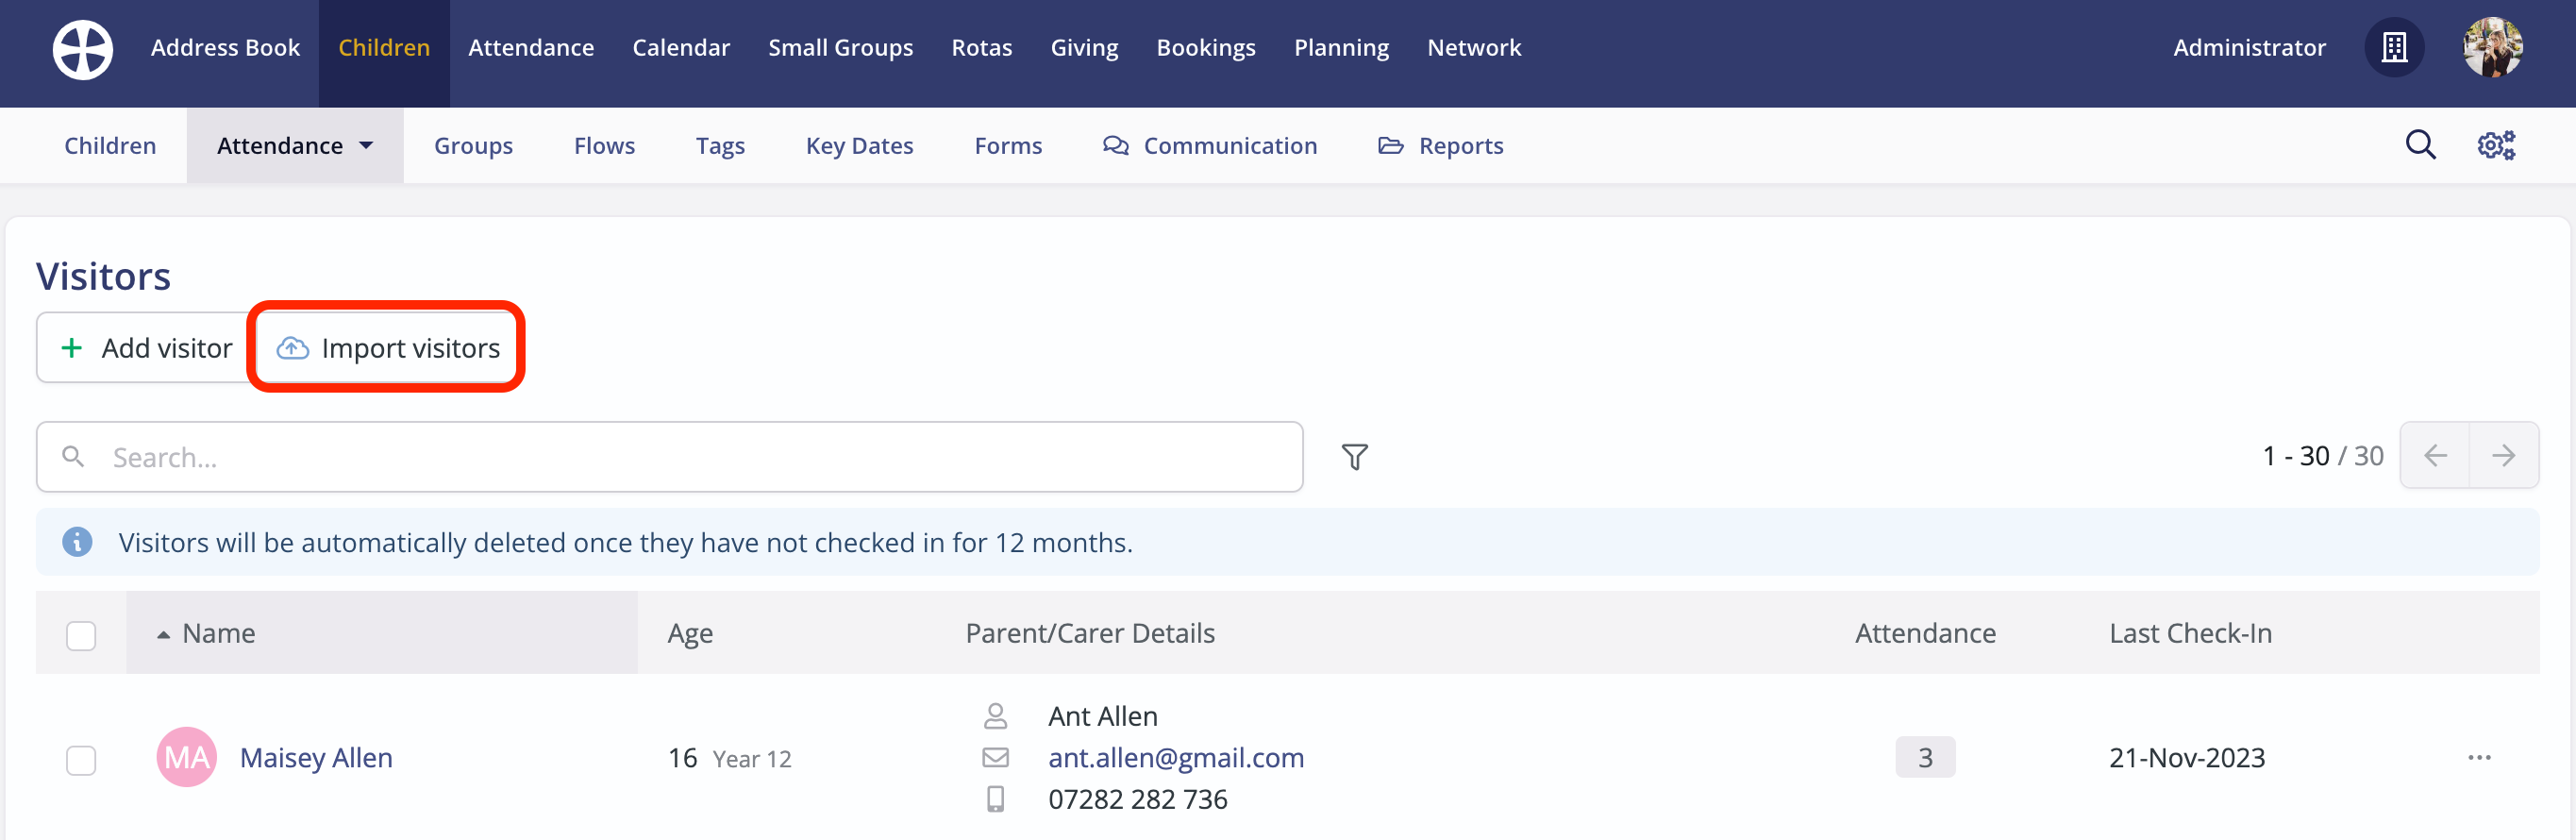
Scrolling down the Import visitors page you'll find useful information about how to prepare your file in the correct format and ready to import. There's also the option to Download example file to use as a starting point for your data.

Having prepared your CSV file, select Choose file, navigate to the CSV file and select it. Next, click Upload CSV File.

The CSV file data is uploaded (it's not imported at this stage). You can now preview the first 5 records in the file. Note the CSV Header column - this can be useful when selecting the field that ChurchSuite should Import As. Make any changes necessary, noting that any fields with a yellow exclamation mark will not be imported - probably because ChurchSuite doesn't recognise the CSV Header in your CSV file - this is fixed by selecting the correct field from the Import As drop-down list or selecting --Do not import--. Once you are happy to proceed, click Import All Records to complete the process.

A summary of the visitor import is displayed. Any records will a yellow warning triangle have errors detected. Valid rows in your CSV file show with a green tick. For each invalid record select Edit from the visitor Actions to fix invalid data (or Remove an invalid row entirely).

You can Process valid visitor records at any time - invalid records will not be processed and will remain in the list until edited and resolved (or removed). You can also Pause an import at any time and you can Delete an import entirely.

To resume a partially-imported or incomplete import, return to the Visitors report in the Children module's Reports section and click on Import visitors. Incomplete/partial imports are listed on the Imports tab. From the import Actions menu, select Delete or Resume the import.

The newly imported child visitors are added to the Visitors section, along with any existing visitors you already had.